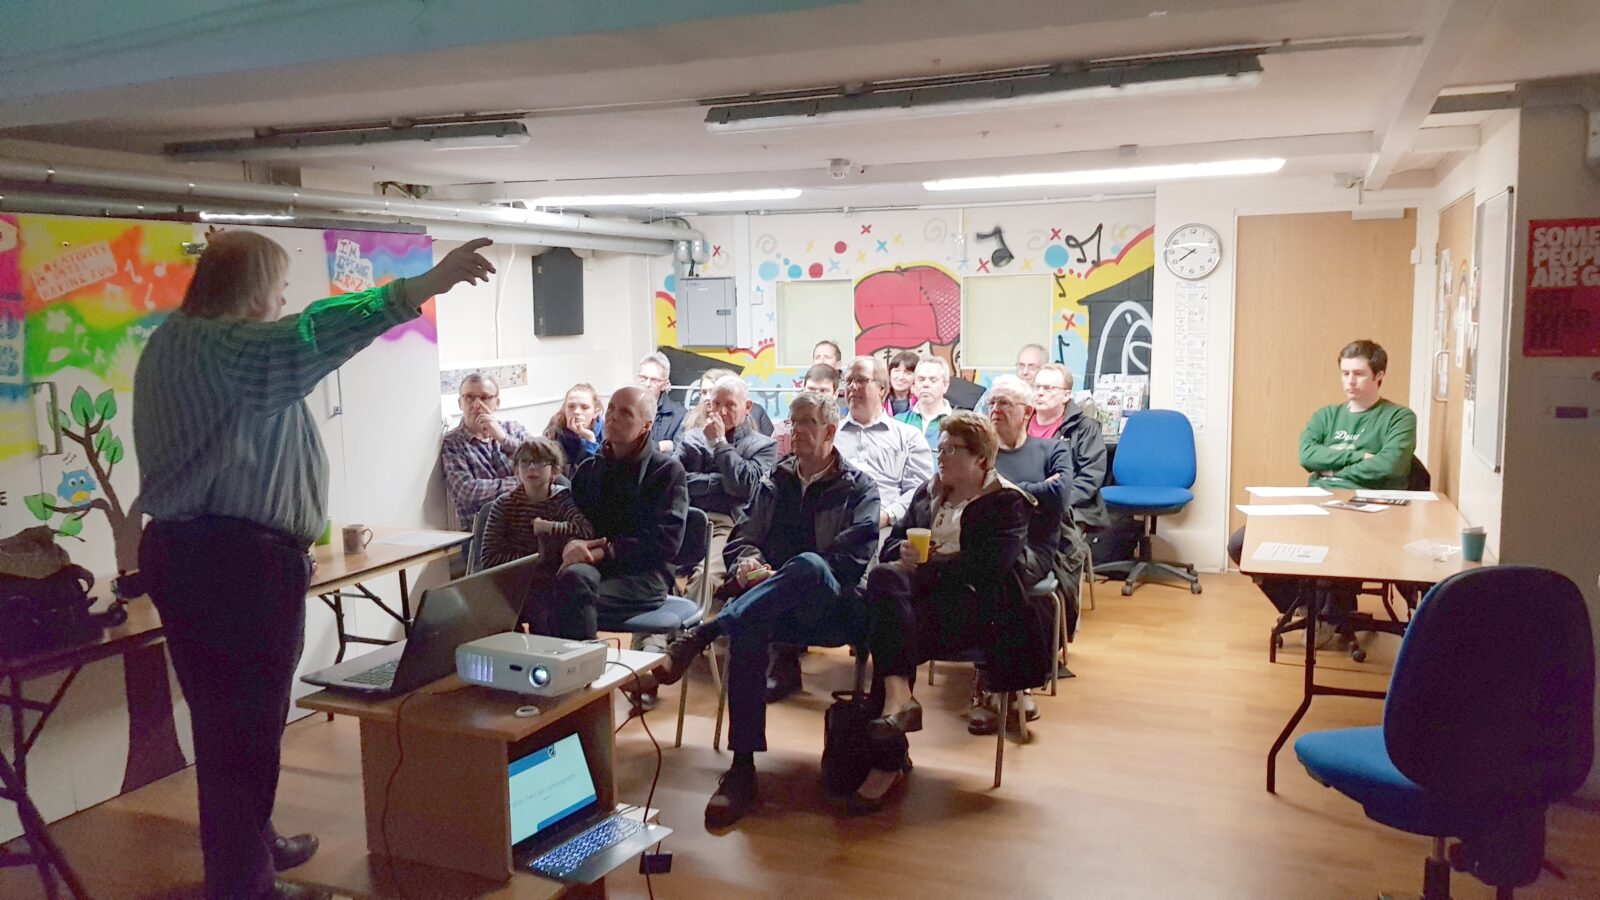
Thank you to those that were able to come along to Andy Burns’ talk on widefield astrophotography last night (29th March 2018) at the Percy Community Centre. We had 20 attend to find how they can use their cameras to start capturing images of the night sky without the complexity of a telescope as well.
Essentially if you have a camera now with a manual mode and a reasonably wide angle lens, say 38mm or less, you can start today. Experimenting is key but putting the camera on a solid surface or a tripod if you have one, set the ISO to 1200, focus to infinity and take a 20 second shot. Have a look at the result, tweak the focus closer to infinity and perhaps the exposure time and try again. Learn from the low quality shots and you’ll soon get the hang of things and perhaps get hooked. Graduate from a camera resting on a park bench to using a tripod and ball joint. Reduce wobbles using the cameras 10s self-timer or a cable/remote shutter release. This way you can take great photos of your favourite constellations and the smudges of galaxies or the band of the Milky Way. If your choice of lens is giving you star trails even at short exposures, increase the ISO value.
Once you have focus and exposure right, you can take many photos of the same subject say a minute apart. Each minute the Earth’s rotation will have moved the sky above you so once you get home, if you download the free startrails software http://www.startrails.de/html/software.html you can select the sequence of photos you took and either merge them into one or make a movie. If your camera has an intervalometer to take multiple pictures over a period of time it can be useful. My Canon doesn’t have one, but I can install Magic Lantern on the camera which does. Consider Andy’s advice for keeping your lens warm during longer photo sessions using hand warmers. This will ward off condensation/dewing which would ruin your pictures.
Thoroughly bitten by the bug, get yourself a tracking mount like a Star Adventurer https://www.firstlightoptics.com/search/for/star+adventurer/. The unit is £199 but you’ll need extras so budget for £300. You can now follow the moving skies, use longer lenses, longer exposures and get more detail in your photos. Still not bulky, you can travel with this kit to far off places.
Don’t forget the Moon as a subject. So much light you can use a long lenses and short exposures. You’ll need to ensure vibration is kept to a minimum so perhaps use mirror lock on the camera and use the self-timer to allow time for vibrations to settle down. Your exposure will be in thousands of a second. Tracking is useful here as the Moon doesn’t half move with a long lens on.
If you are unforgivably addicted, then consider an astronomy modified camera. All cameras with CMOS/CCD chips inside them from mobile phones, web cams and posh cameras are sensitive to red light. To stop this from making your photos looking like the an alien landscape, every camera has an infrared cut filter in it. An astronomy modified camera has this removed and a clear filter/window put its place so focus isn’t affected. The new Astro cameras typically have an A in their names e.g. Canon EOS 60Da. As the red is let through to the sensor, they pick up on hydrogen alpha emission light for nebula giving you a truer view of the light from the object. Many existing cameras can be modified aftermarket by specialists so perhaps a secondhand camera body can become your Astro camera.
Please feel free to share your photos. You can watermark them if you want and if used on Bath Astronomers web sites, you’ll get full credit and perhaps the monthly prize.


Avidly taking notes on the above. Clear, simple and not terrifying information! Thanks for brevity too. Very helpful for this Brighton based rookie who now feels a little more confident stepping into a camera shop. Telescopes next but that’s a whole new can of cosmic worms…